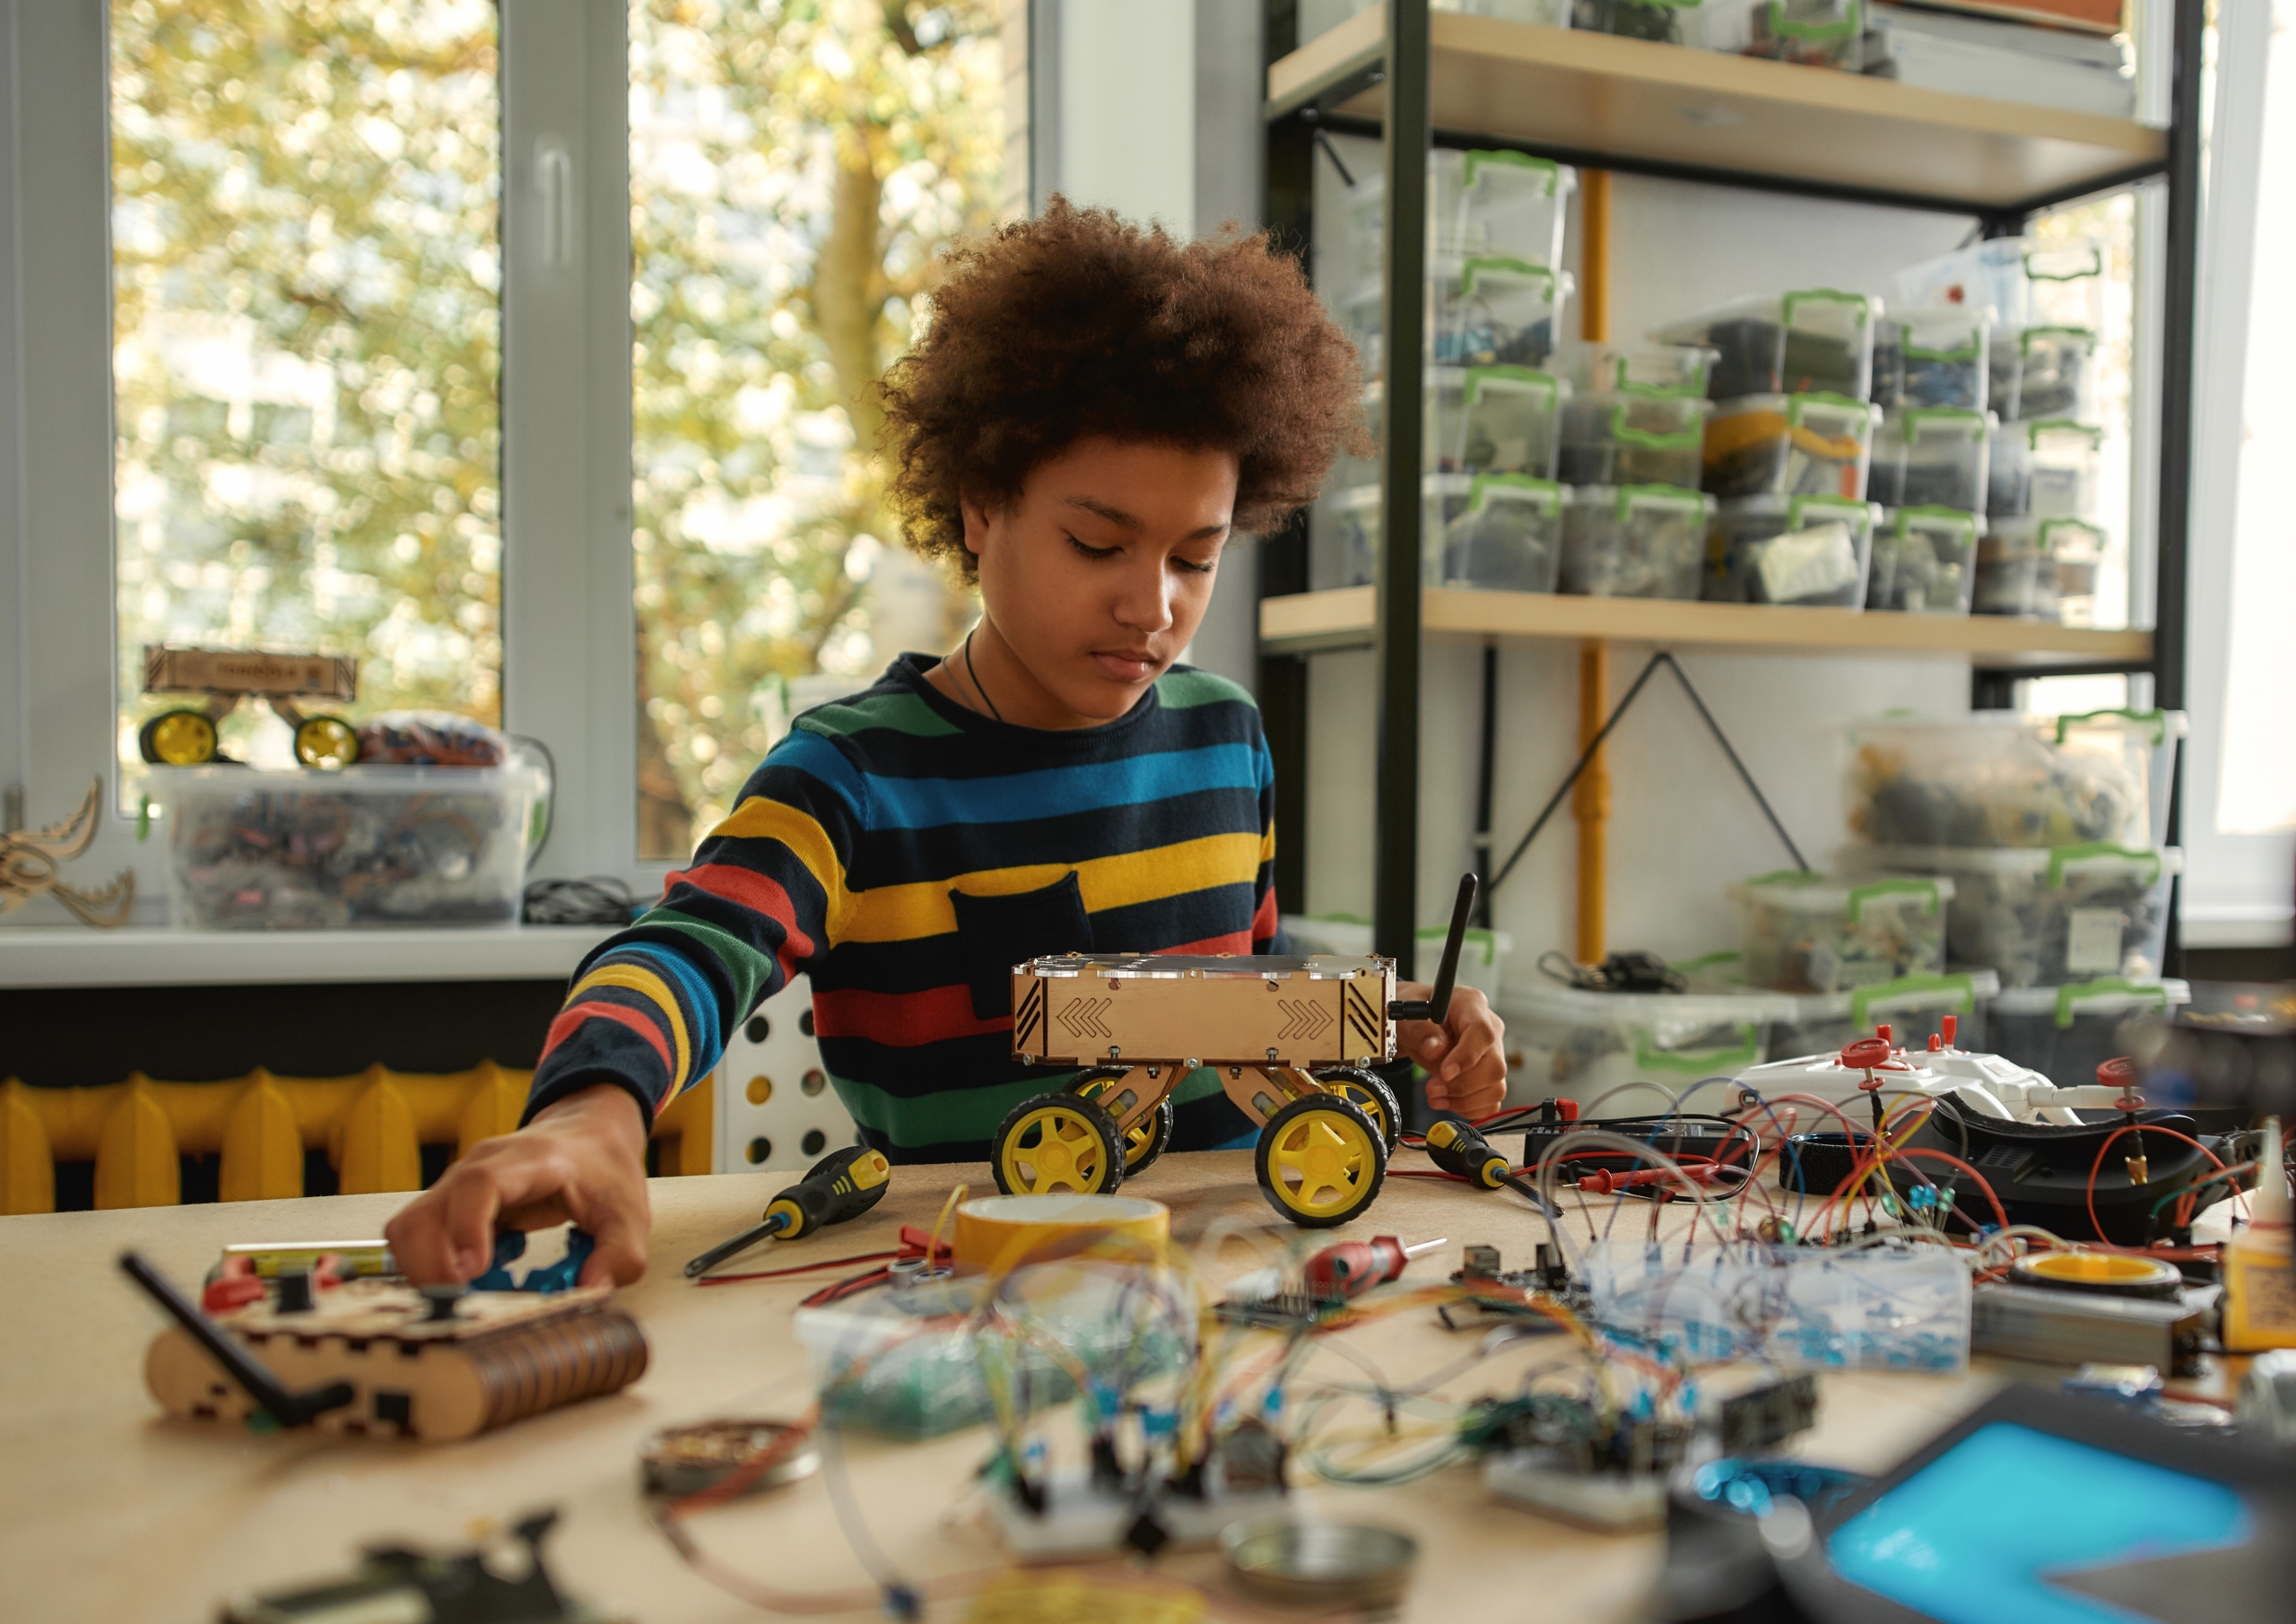
Makerspaces, all the rage the last few years, can be found at many museums, or even as a dedicated community space. They’re also not just for adults, but for young children and teens. Giving children hands-on opportunities to become craftspeople, learn basic engineering principles, and explore their creative side is an important part of STEM and STEAM education.
As a group of makers and craftspeople ourselves, Ravenwood Studio understand the importance of inspiring young artisans (and future coworkers.) Many of our shop workers are makers outside of their time at Ravenswood. They build wood furniture, sell hand-crafted knives, or fill local art galleries with their murals.
With the rising demand for makerspaces, but with the current challenges of sheltering at home, here are some tips for creating your own at home makerspace.
Safety First! The Right Tools for the Job
Craft tools can be as simple as glue and safety scissors, or as complex as a soldering iron or hammer and nails. Whatever you are building with, make sure that you have the right tools for the job. Trying to replace a Flat head Screwdriver with a Phillips never works. Always read instructions that come with kits or tools, and make sure to properly clean them when done.
Also, make sure proper safety protection is in place. Safety glasses, work gloves, and adult supervision and guidance are a good place to start when tackling technical craft projects. By staying safe, you ensure fun in the future!
Setting Up & Storage
Every maker can benefit from having a dedicated space to be creative. If space is tight, get inventive with storage both on your workstation and under it. And don’t forget, you can go vertical! Wall space is premium, oft-forgotten real estate for maker supplies. Separate tools and supplies, making sure each item has its own committed drawer or shelf. Having dedicated space for items makes it easy to find what you are looking for, and knowing where things go makes for easy clean up when it’s time for another activity. If you plan on vlogging or blogging your activities, don’t forget to think about what you are drawing attention to in your photos, and having visually appealing backgrounds that enhance, not distract from, your project.
Table Talk
Arguably, one of the most important decisions of a makerspace is the surface you choose to work on. Depending on what you are doing, stains, messes, and damage to the surface should be expected. If you are cooking or baking, think about food-safe surfaces (Ravenswood Studio once used food coloring to dye wood for a bar top to ensure food consumption safety.) If you are working with fire or a heat generating source, make sure your surface won’t melt or catch fire. Your table height should also match your work stance which brings us to…
Sit, Stand, or Both?
Making sure that you are comfortable is a big part of working productivity. Think about the best way you can work on your project, and not be hunched over constantly causing back pain and neck strain. Are you able to stand for long hours, or do you need a comfortable chair in which to relax? If you plan on sitting, make sure that your chair is comfortable, but not too bulky to inhibit your work. Also, if you do plan on sitting, don’t forget to stand up every once in a while, to encourage blood flow to your legs.
Don’t Get Shocked
Have you ever seen the movie Christmas Vacation? It has a perfect example of how NOT to manage your electrical needs. What tools do you have that need to be plugged in to run? How many watts does your 3D Printer use? What needs to charge overnight? Knowing the basics about how many items you can plug in and run on an outlet or power strip is important. It keeps you from overloading your power source, which can damage or break tools and cut your maker fun short. Electrical providers like our clients Commonwealth Edison or Pacific Gas and Electric have resources and tips on safely using electricity in your home.
Light it Up
Speaking of electrical, think about how you want to light your space. Poor lighting can lead to poor craftsmanship. If you can’t see what you are doing well, how are you sure you’re crafting well? If you plan to take video or photos of your activities, consider how lighting will affect your medium. Light temperature can change the color or suppress details of your craft, so test with different types of lighting to make sure your project is being properly seen.
Around-the-House Supplies
Craft and Maker Kits are a popular item among makers, but if you’re on a budget or in a pinch for an activity, there are plenty of items around the house you can add to your child’s maker kit. Those toilet paper rolls you were going to recycle? They are now Creepy Creatures. That cardboard box from your last Amazon delivery? It’s now an adorable lamp cover. Below is a list of items often found around homes that can easily be turned into craft items:
- Cardboard Boxes
- Toilet Paper or Paper Towel Rolls
- Clean Food Containers or Cans
- Duct Tape
- Old Clothes, Leftover Fabric, Felt, or Yarn
- Paper Clips
- Tinfoil
- Marbles
- Cotton Balls or Pads
- Old Jars, Bottles, or Vases
- Buttons and Clips
- Old Plastic Bags
Craft with Maker Experts
Many museums have amazing makerspaces and resources like the Museum of Science and Industry, Chicago and Betty Brinn Children’s Museum. And websites such as Instructables, MakerShop, or Thinkverse have instructions and templates for more advanced makers.
There are so many activities to inspire young makers. From future artist to soon-to-be fabricators, Ravenswood Studio hopes to spark imagination and ingenuity in everyone. If you have any good makerspace tips or crafts, let us know at hello@ravenswoodstudio.com.

